

Introduction
In this tutorial, we will guide you through the process of installing Ubuntu 20.04 on a VMware ESXi host. We will provide step-by-step instructions along with screenshots to make the installation process easier for you.
Prerequisites
Before we begin, make sure you have the following:
- A VMware ESXi host
- An Ubuntu 20.04 ISO image
- A computer with VMware vSphere Client installed
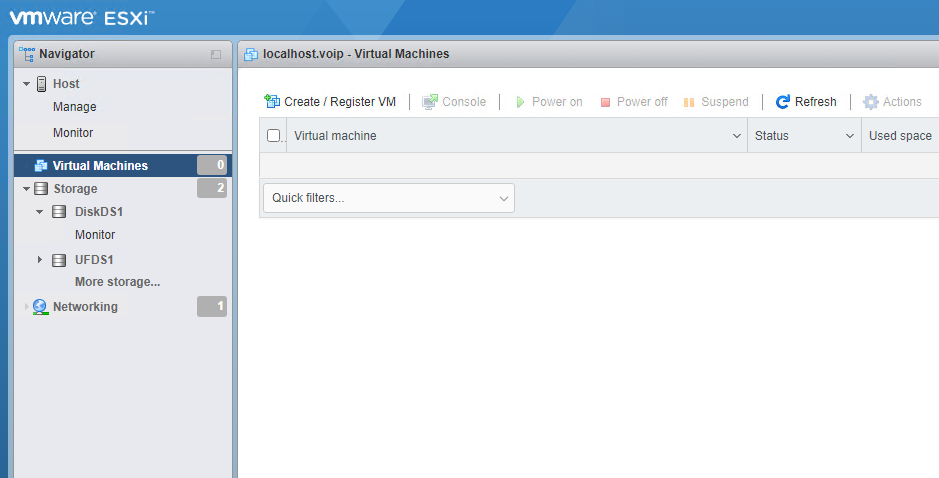
Step 1: Create a New Virtual Machine
- Click on “Create / Register VM” to start the virtual machine creation wizard.
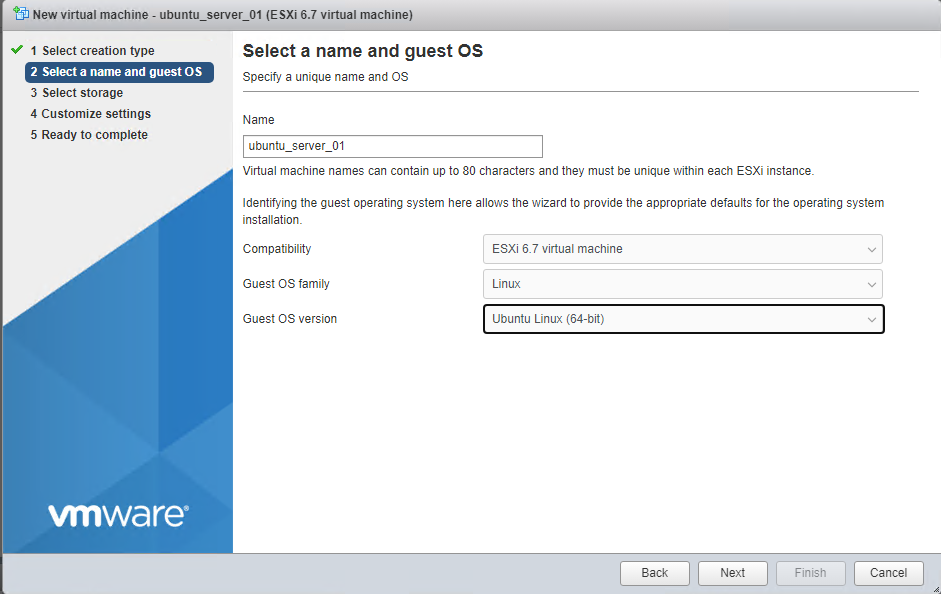
Choose “Create a new virtual machine” and click “Next”.

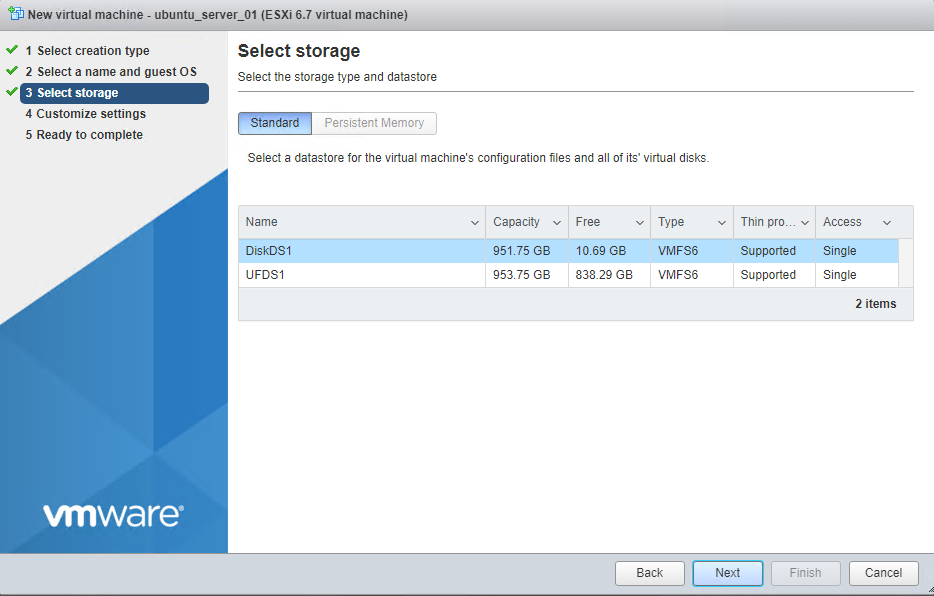
Enter a name for your virtual machine and select the desired location.
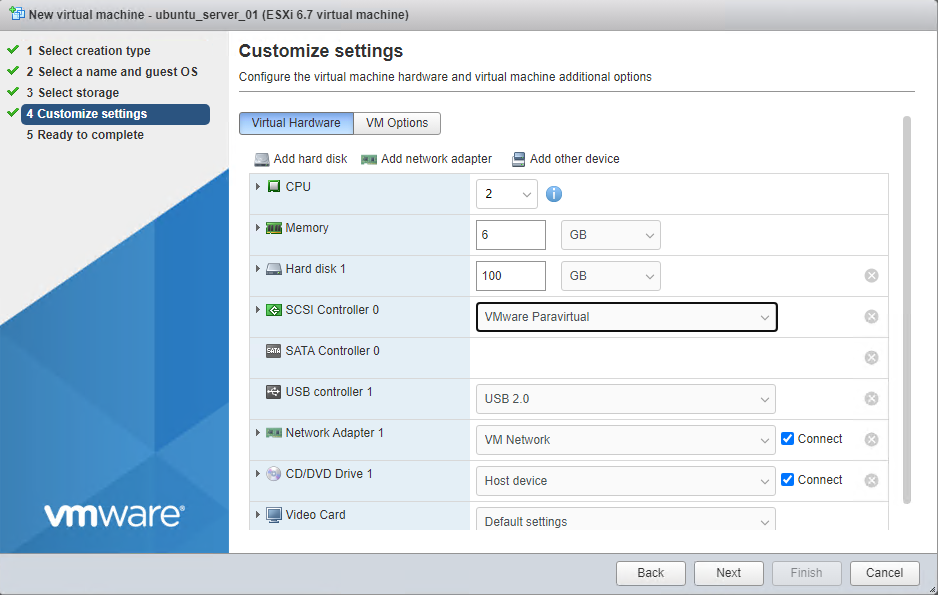
Specify the number of virtual CPUs and the amount of memory for your virtual machine.
Now Choose your DVD Media to Boot your Ubuntu Machine.
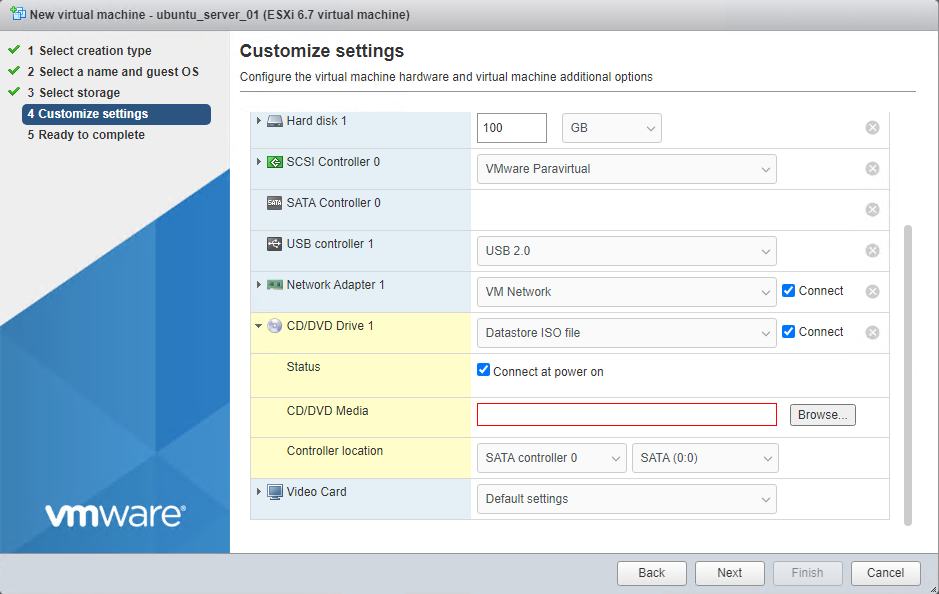
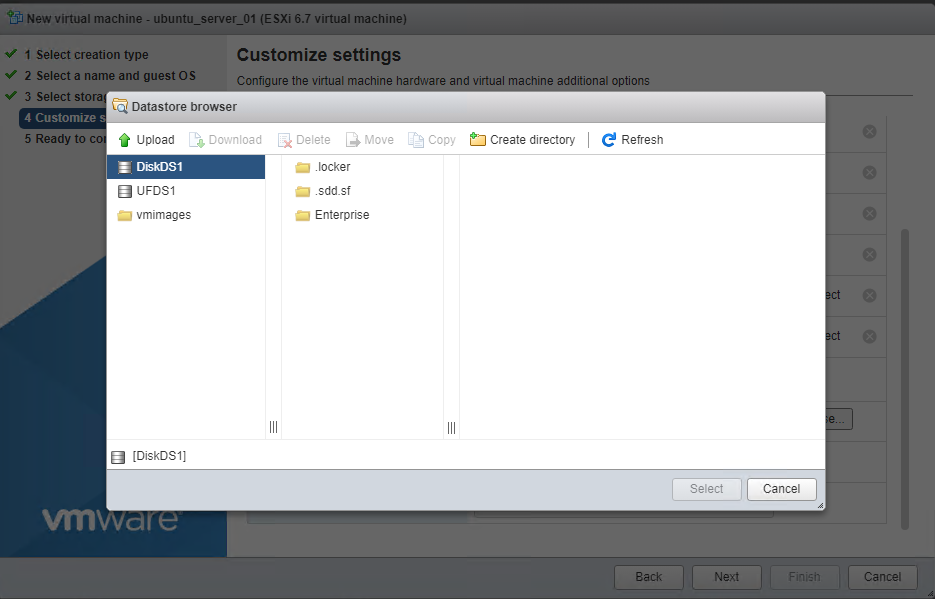
If Media is not available in the Data Store then try to upload the Downloaded Media in to the Datastore
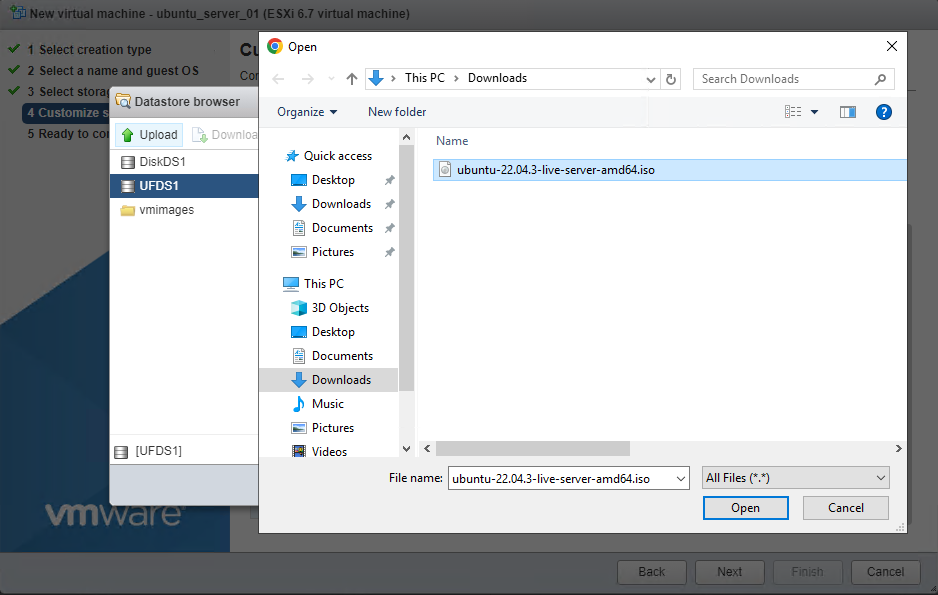
Click open and wait for the media to upload in to the datastore Completely.
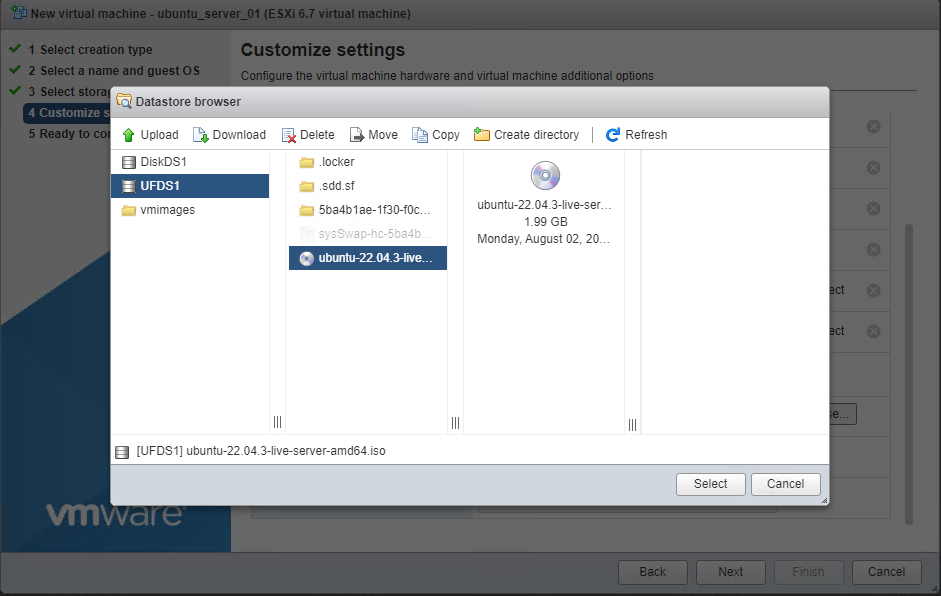
Once the DVD media of Ubuntu 20.4 is available in your Datastore and select that media

Now click Next to complete the VM creation Process and you will see your VM is created in your ESXI location VM list as Shown Below.
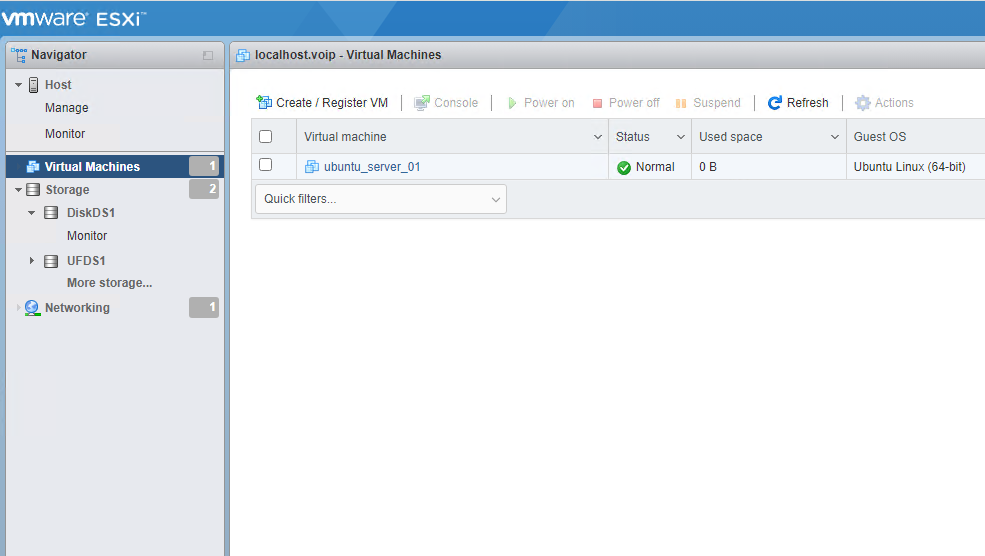
Now Can Turn on The VM to begin your VM installation Process.
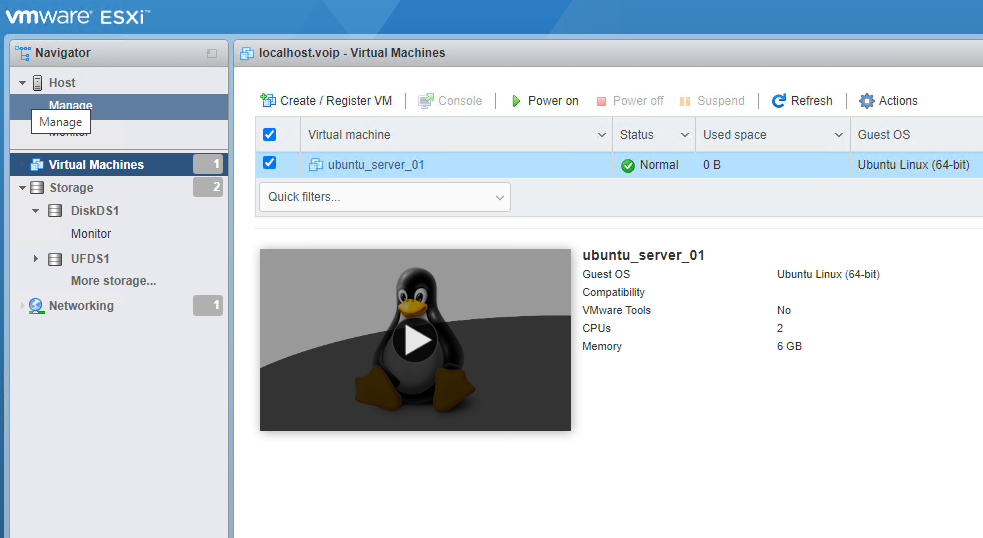
VM creation Completed.
Step 2: Install Ubuntu 20.04
- Right-click on the newly created virtual machine and select “Power” > “Power On”.
- Click on “Console” to access the virtual machine console.
- Mount the Ubuntu 20.04 ISO image to the virtual machine’s CD/DVD drive.
- Press Enter to start the Ubuntu installation process.
- Select your language and click “Install Ubuntu”.
- Choose your keyboard layout and click “Continue”.
- Select “Normal installation” and click “Continue”.
- Choose whether to install updates and third-party software, and click “Continue”.
- Select “Erase disk and install Ubuntu” and click “Install Now”.
- Confirm the disk erasure by clicking “Continue”.
- Select your time zone and click “Continue”.
- Enter your name, username, password, and computer name.
- Wait for the installation to complete.
- Click “Restart Now” to reboot the virtual machine.
Step 3: Login to Ubuntu 20.04
- After the virtual machine restarts, you will be prompted to login.
- Enter the username and password you specified during the installation.
- Once logged in, you will be greeted by the Ubuntu 20.04 desktop.
Conclusion
Congratulations! You have successfully installed Ubuntu 20.04 on a VMware ESXi host. You can now start exploring and using Ubuntu for your virtualization needs. If you encounter any issues during the installation process, feel free to refer to the screenshots provided in this tutorial or consult the official Ubuntu documentation for further assistance.
We hope this tutorial has been helpful to you. Thank you for reading!